Quick Start Guide

Build a rough cut from generated clips.

CineSlate is a lightweight editorial board for AI video production. Use it to import clips, keep prompts with the media, sort bins, tap music tempo, arrange a rough cut, and export an FCPXML handoff.

Import Label Arrange Export
CineSlate demo board with bins, clip cards, and rough-cut timeline.

Fast Path

Use this sequence when you just need to get from a folder of generated media to an editable handoff.

01

Start a board

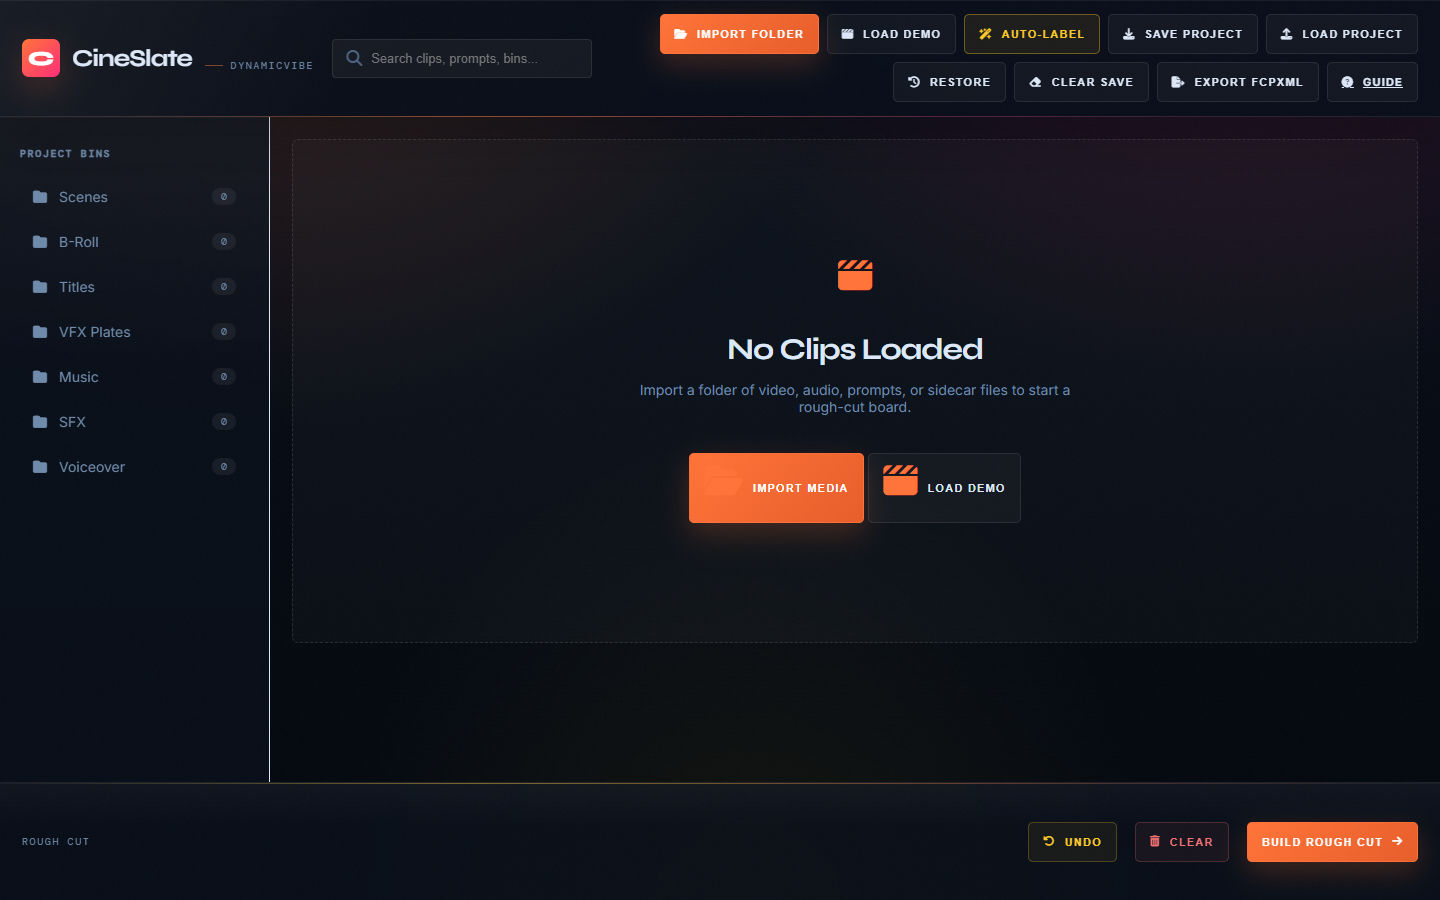
Open CineSlate, then choose Import Folder. For practice, choose Load Demo.

02

Sort the clips

Drag clips into bins such as Scenes, B-Roll, Titles, Music, SFX, and Voiceover.

03

Export the cut

Drop clips into the Rough Cut timeline, then use Build Rough Cut or Export FCPXML.

Session Recovery

CineSlate keeps a local autosave so accidental refreshes are less costly.

Autosave

Recover the last board

  • CineSlate autosaves the board, bins, metadata, and Rough Cut order in the browser.
  • Use Restore to load the last local session.
  • Use Clear Save when you want to remove the local recovery copy.
Important

Local files still matter

Browser autosave can recover board structure and metadata. For imported local files, keep the source media folder available and use Save Project when you need a portable JSON handoff.

CineSlate empty state with Import Media and Load Demo actions.
Step 1

Import media or load the demo

  • 1Use Import Folder for a folder of video, audio, prompt text, or JSON sidecar files.
  • 2Use Load Demo when you want to learn the interface without selecting files.
  • 3Search updates the board immediately, so you can filter by clip name, prompt, or description.
Sidecar tip If a text or JSON prompt file has the same base name as a media file, CineSlate attaches that prompt to the clip metadata.
Step 2

Review and label clips

  • 1Select a card to make it active. Use the slider icon to open the inspector.
  • 2Edit the original prompt, scene, shot, take, and description.
  • 3For music clips, use Detect BPM. Tap the button or press SPACE to the beat.
Naming tip Keep scene, shot, and take fields short and consistent. They become the clip code shown on each card.
CineSlate inspector panel showing audio clip metadata and BPM controls.

Bins And Timeline

The left sidebar is for organization. The bottom strip is for assembly order.

Bins

Keep the board clean

  • Drag a clip onto a bin name to assign it.
  • Click a bin to filter the board to that bin.
  • Click the same bin again to clear the filter.
  • Select multiple clips, then use the bulk bar to move or delete them.
Rough Cut

Build the handoff order

  • Drag cards into the Rough Cut strip at the bottom.
  • Use the plus button on a clip card to add it directly.
  • Select multiple clips, then use Add to Rough Cut in the bulk bar.
  • Use the numbered badges to confirm export order before handoff.
  • Drag clips inside the strip to reorder the rough cut.
  • Watch the gold insertion line to see exactly where the clip will land.
  • Click the small x on a timeline chip to remove it from the assembly.
  • Use Undo to reverse the last Rough Cut timeline action.
  • Use Clear on the bottom strip to reset the assembly without deleting media.
  • Use the timeline as a simple assembly list, not a full trimming editor.
  • Choose Save Project if you want to preserve the board state.
  • Choose Export FCPXML to preview and confirm the sequence before Final Cut Pro handoff.
Close-up of the CineSlate Rough Cut timeline at the bottom of the tool.
Bottom Strip

The rough-cut timeline

The timeline is always at the bottom of CineSlate. It stores clip order for export, so the chip marked 01 becomes the first rough-cut clip in the generated FCPXML sequence.

Reorder tip Drag a timeline chip onto another chip to move it before that clip. The gold insertion line shows the landing point before you drop. Drop a clip into empty timeline space to append it. The x removes the clip from the rough cut only; it stays in the media board.

Export Preview

CineSlate shows the exact FCPXML sequence before it downloads the file.

Confirm

Check the handoff order

  • Click Build Rough Cut or Export FCPXML.
  • Review the numbered sequence in the preview modal.
  • Use Copy Sequence to paste the order into notes, Slack, or a handoff doc.
  • Cancel if the order is wrong, then reorder the bottom timeline.
  • Click Download FCPXML once the order matches your edit plan.
Handoff

What gets exported

The export writes all board media into the FCPXML bin and writes the Rough Cut strip as the sequence. The preview exists so you can confirm the order without opening the XML file. CineSlate also escapes clip names and metadata for safer XML output.

Recommended Workflow

A practical order for commercial, music video, and AI film assembly.

Prep

Name files clearly

Use names like SC012_hero_walkthrough.mp4 and matching prompt sidecars before import.

Select

Bin everything

Separate hero scenes, inserts, title plates, audio beds, SFX, and voiceover before arranging.

Handoff

Export early

Export an FCPXML as soon as the rough order feels right, then continue the detailed edit in your NLE.