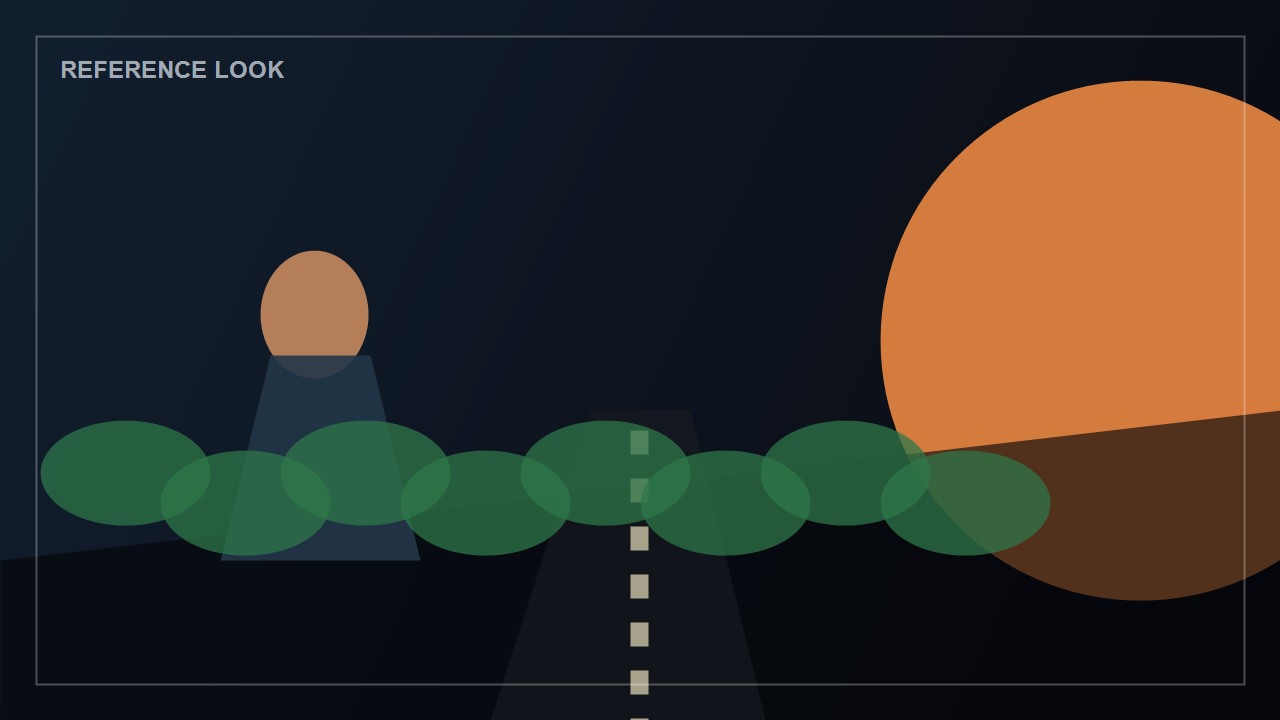
Add a reference still
Upload the frame that carries the desired color direction. This can be a graded still, a look-reference frame, or a client-approved visual target.
DVP Tools / Detailed Guide
CineMatch takes a reference still, compares it to your target frame, creates a matched preview, and exports a .cube LUT you can use in the edit or color pipeline.
Quick start
For the best result, choose frames that are similar in subject matter, lighting direction, and exposure range. The closer the shots are structurally, the better the LUT behaves.
Upload the frame that carries the desired color direction. This can be a graded still, a look-reference frame, or a client-approved visual target.
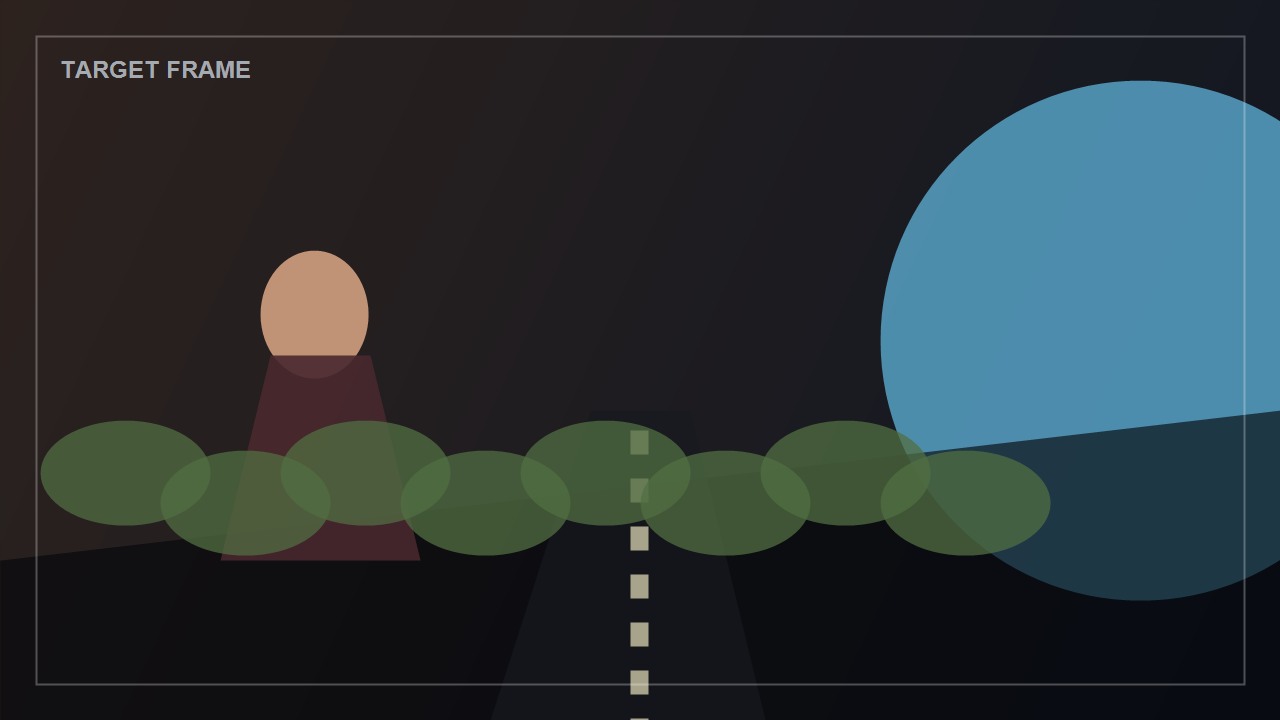
Upload the frame from your own footage. CineMatch reads the target and builds a correction that moves it toward the reference.
Run the match, compare split/original/matched views, then download the generated .cube LUT for Resolve, Premiere, Final Cut, OBS, or another LUT host.
Frame roles
CineMatch needs two stills. The reference defines the look. The target defines the footage that will receive the look.
Do not use a sunset reference for a fluorescent office target and expect a neutral technical LUT. CineMatch is most useful when the two frames share enough scene logic for color transfer to be meaningful.
Pipeline
CineMatch reads both images, optionally samples crop regions, normalizes exposure if enabled, computes color statistics, builds the preview transform, and writes the LUT table.
Controls
Presets are starting points. Natural outdoor is conservative, Cinematic warm pushes tone, Strong match uses a more forceful mode, and Skin safe protects faces.
Strength controls how far the target moves toward the reference. Lower values preserve the original image. Higher values chase the reference more aggressively.
Fast is broad and quick. Tonal balances luma zones. Exact uses RGB distribution matching for stronger transformations.
17 is good for tests, 33 is the practical default, and 65 is heavier but smoother for high-detail color work.
Helps align brightness before color transfer. Keep it on unless you intentionally want the reference brightness bias to affect the target.
These reduce overcorrection in common problem areas: faces and greens. Use them when people, grass, trees, or brand-critical natural colors are present.
Interface
Use Original to inspect the uncorrected target, Matched to inspect the final preview, and Split to compare both in one view.
The scope match section reports drift before and after the correction. Warnings appear when the transfer may be too extreme or when the frames differ heavily.
Export
Download the .cube file, import it into your color/LUT folder, then apply it to the target clip or an adjustment layer. Start with the preview as a guide, then fine-tune exposure and contrast in your NLE.
Treat the LUT as a bridge, not a final grade. It gets you close to the reference look quickly, then you finish with normal color tools.
Troubleshooting
Turn on Skin protect, lower Strength, and try Tonal mode. If the reference face lighting is very different, choose a closer reference still.
Turn on Protect greens and lower Green protection strength only if you want foliage to take more of the look.
Lower Strength to 40-60%, use LUT size 33, and avoid Exact mode unless you specifically need a stronger transfer.
Use smaller stills or LUT size 17 for testing. Large files and 65-point LUTs take longer because they generate many more color samples.